Example of calculating irrigation run-time with the jar test
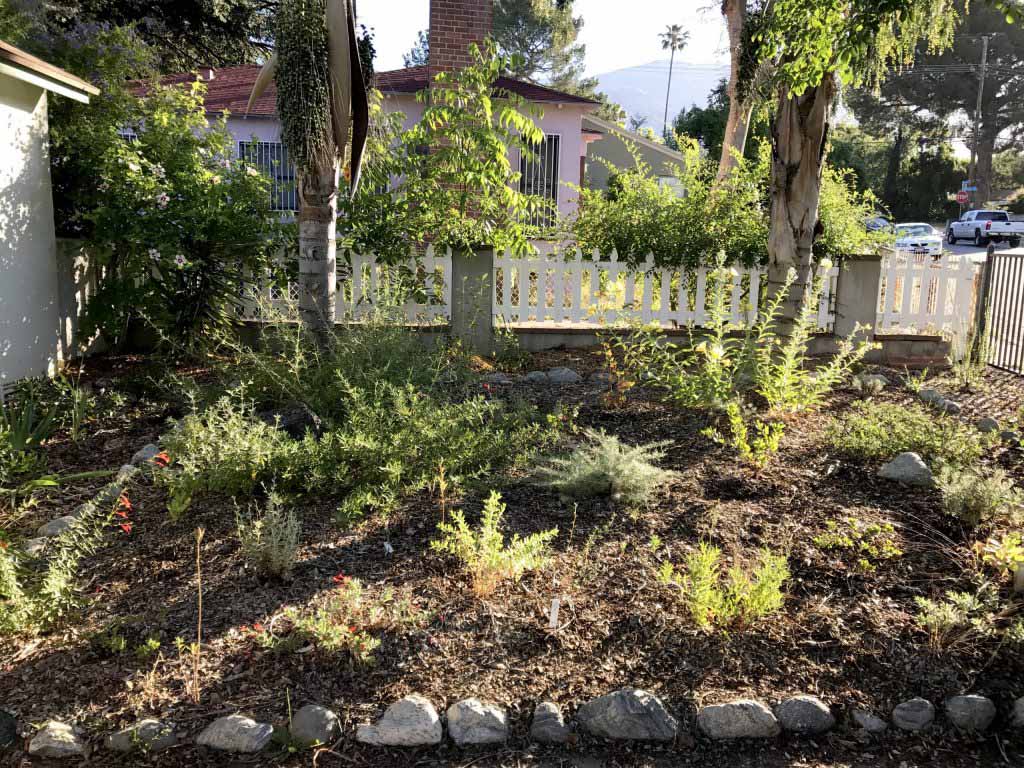
We will find the precipitation rate for this zone in a young, mostly California native plant landscape that was installed into an existing spray irrigation zone.
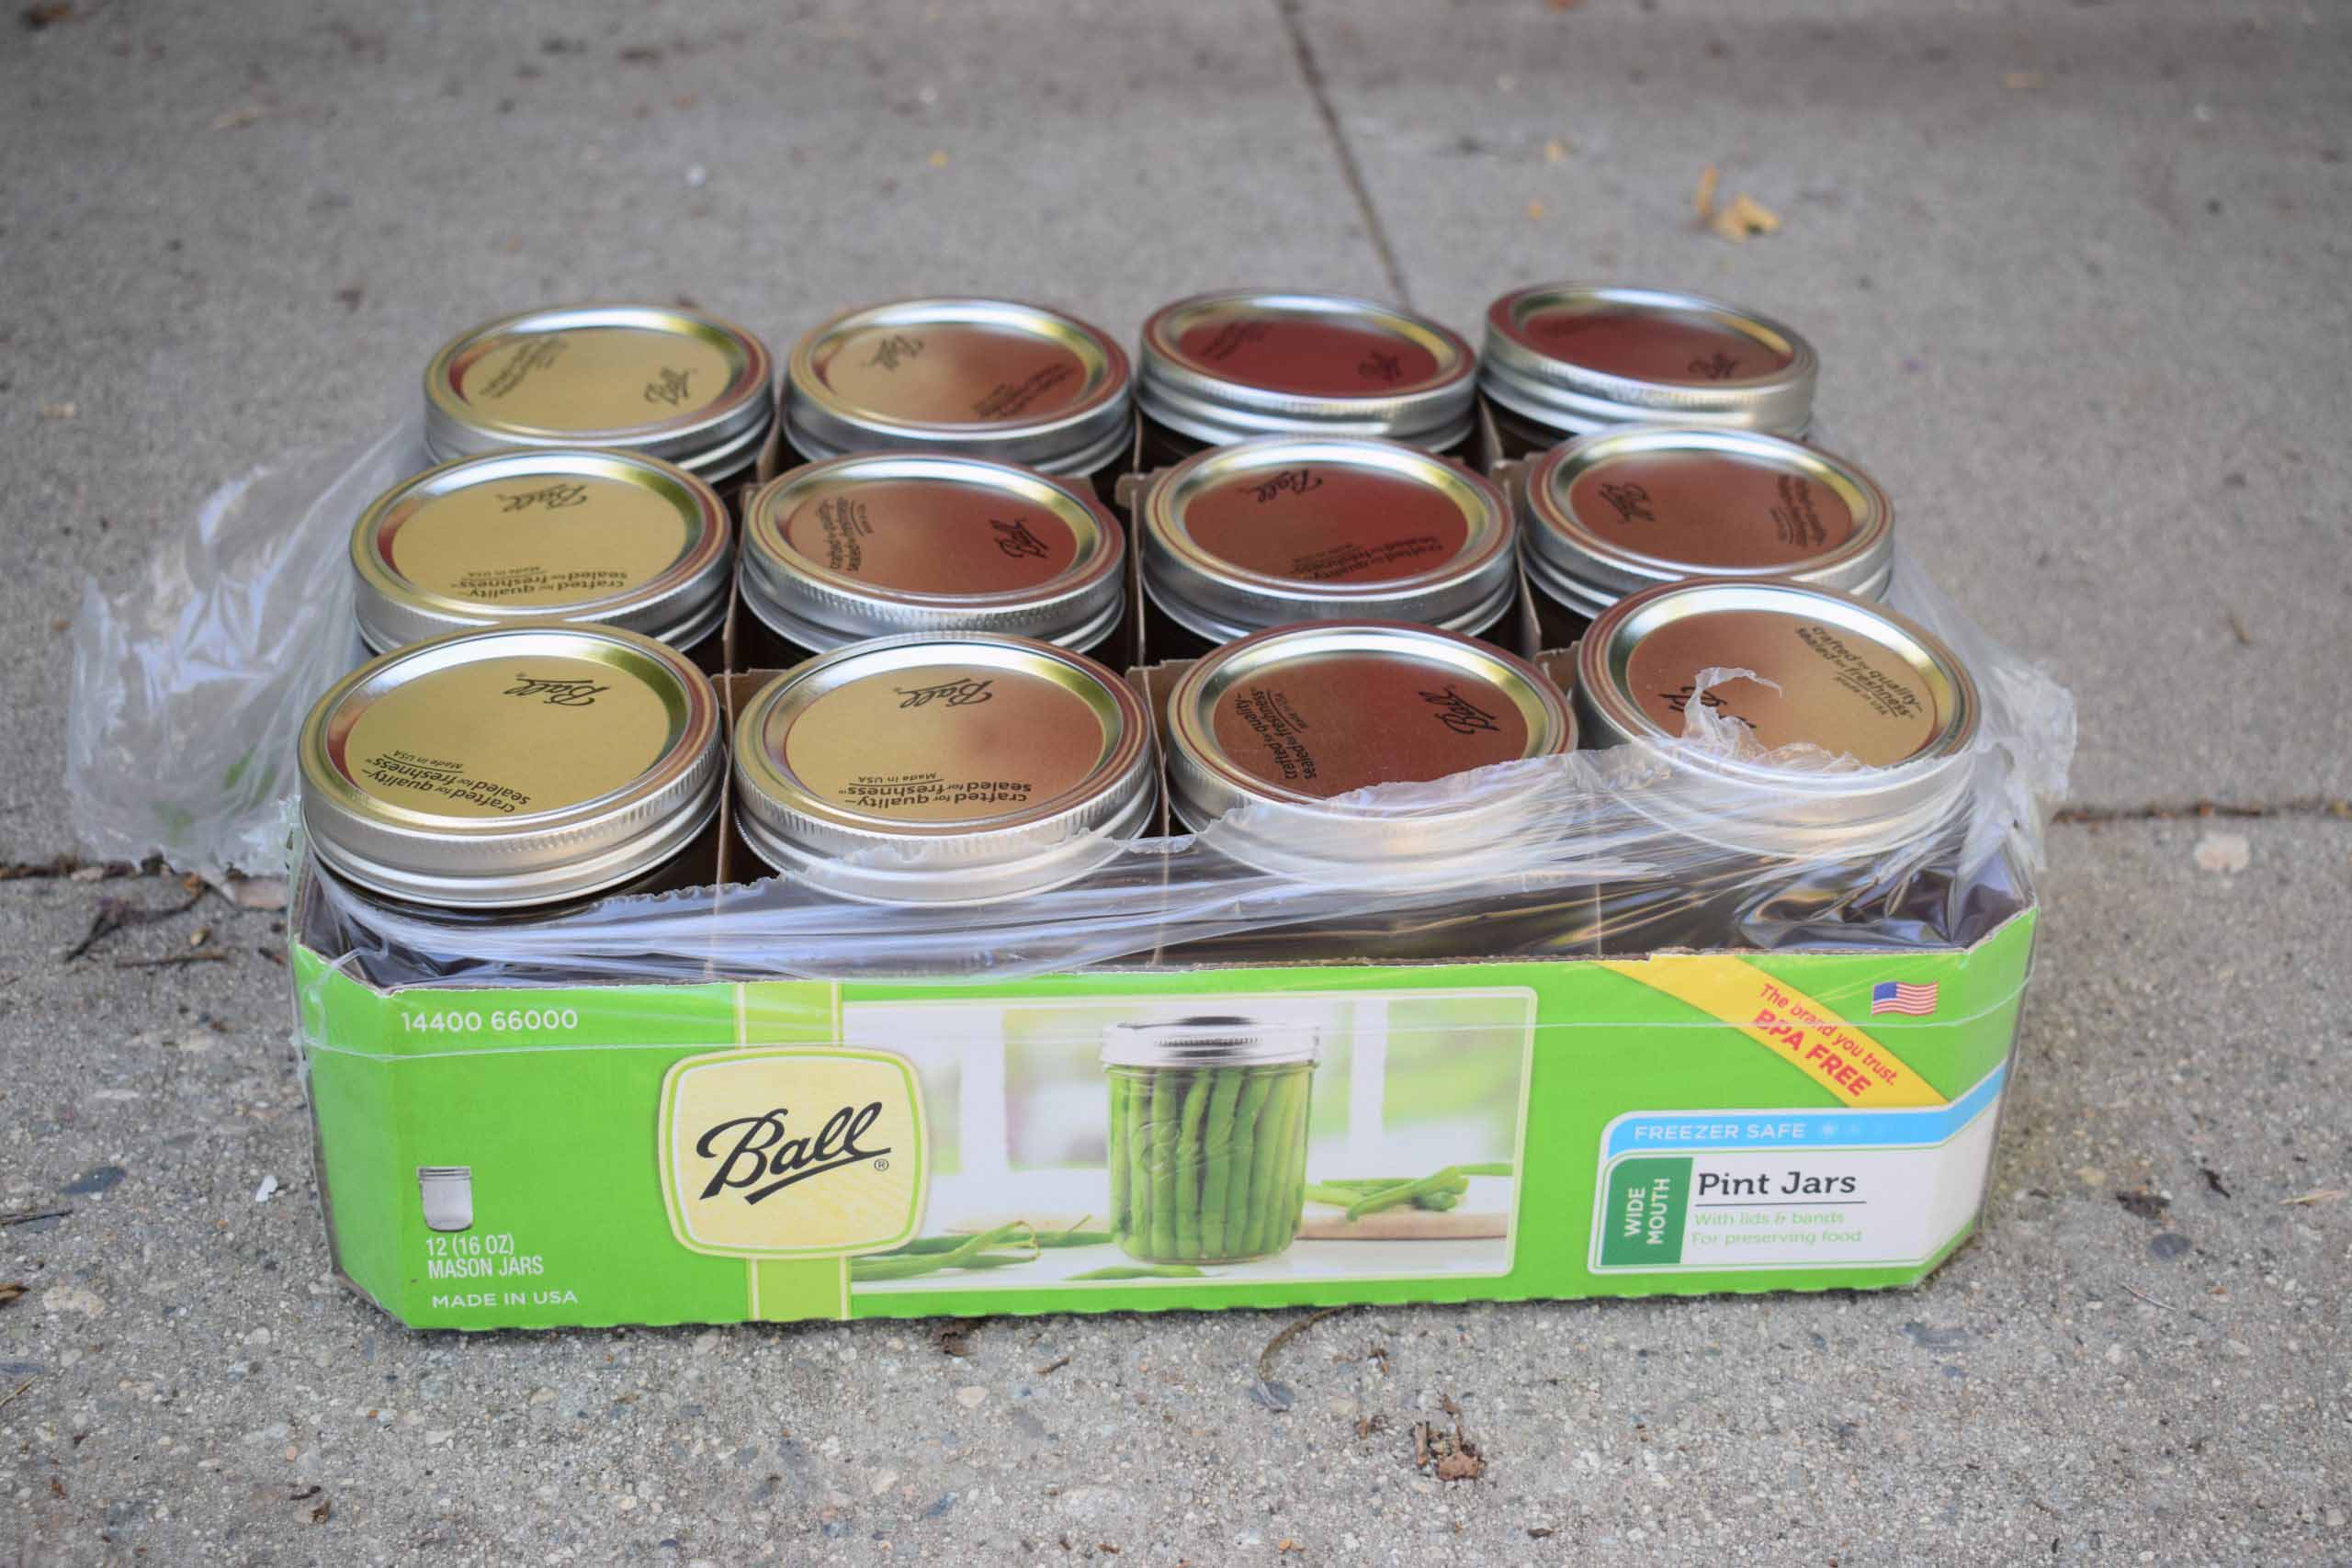
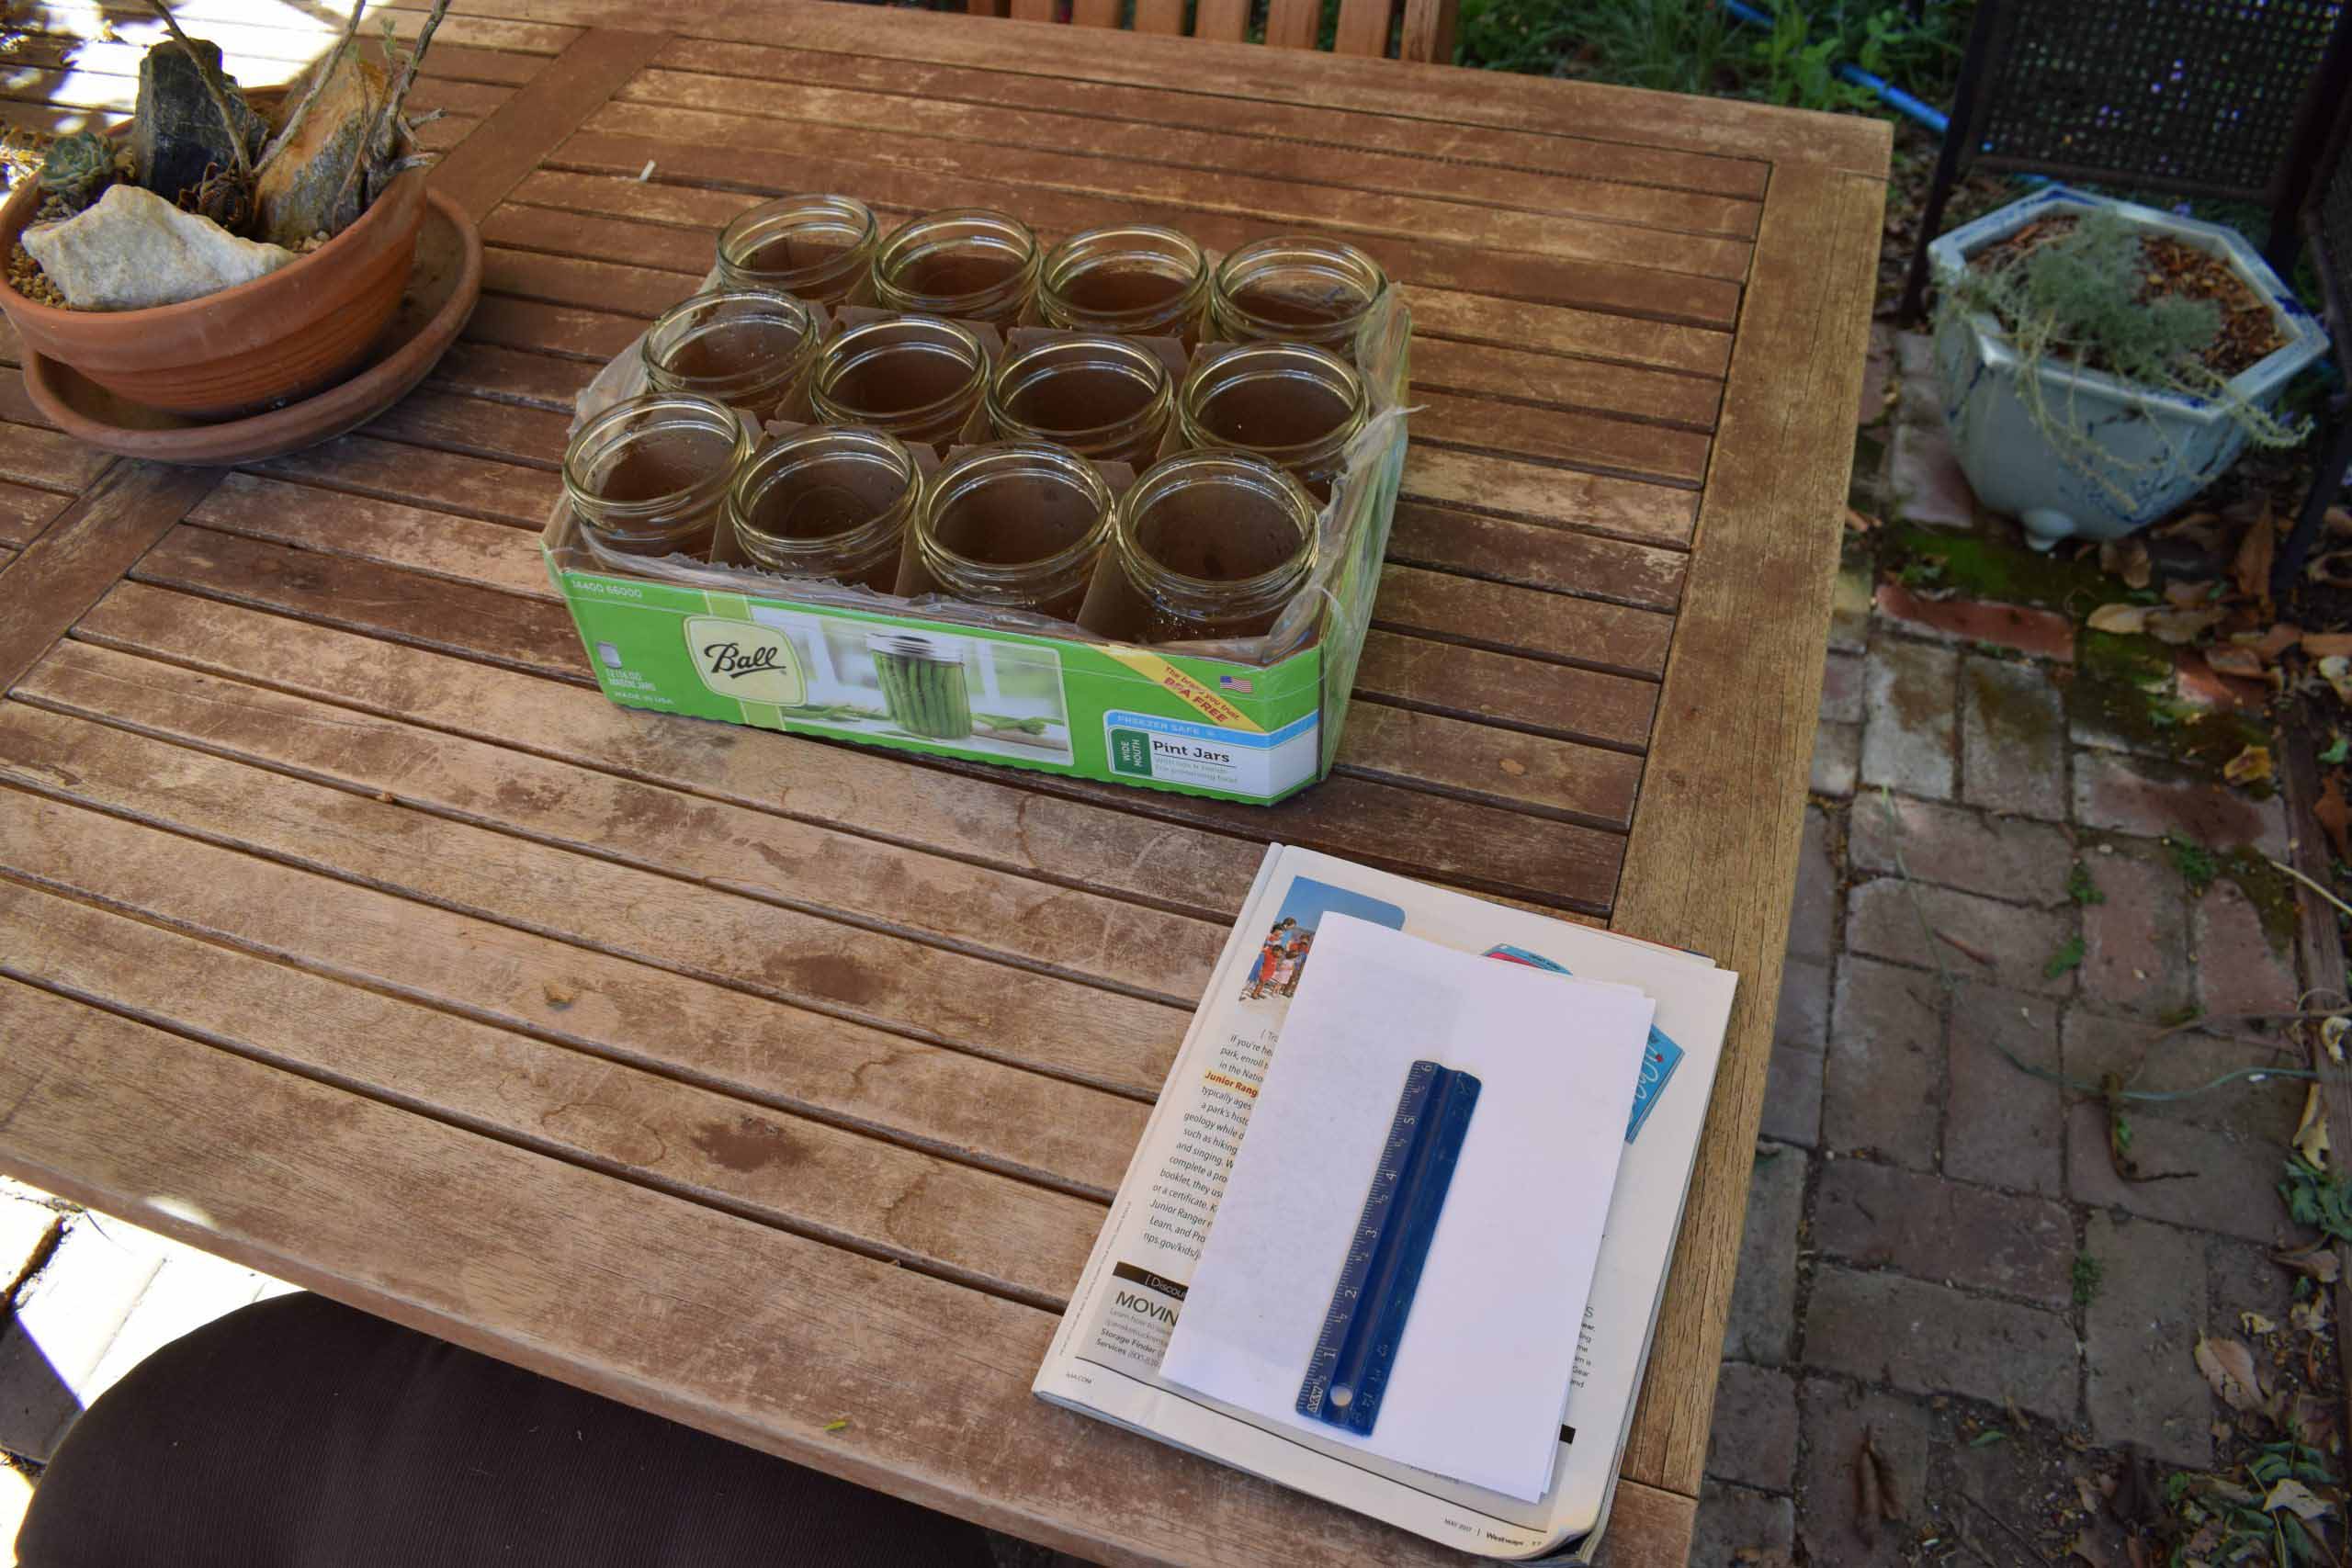
If you have a spray or rotor system, you can determine this using test that captures water from your sprinkler system into a number of jars or cans. The easiest method is to use 12 to 20 jars with wide mouths and straight sides, such as cat food cans, tuna cans, or 16 oz size wide-mouth mason jars. Many containers will work, as long as the opening is the same size as the rest of the container, like a cylinder. You will want a large number of matching containers.
We will use a 12-pack of 16 oz size wide mouth mason jars which cost about $11 at a local store with a red circular logo and can be used for many things after the test is done. For this test, the jars MUST be 16 oz AND wide mouth. Other sizes will not work.
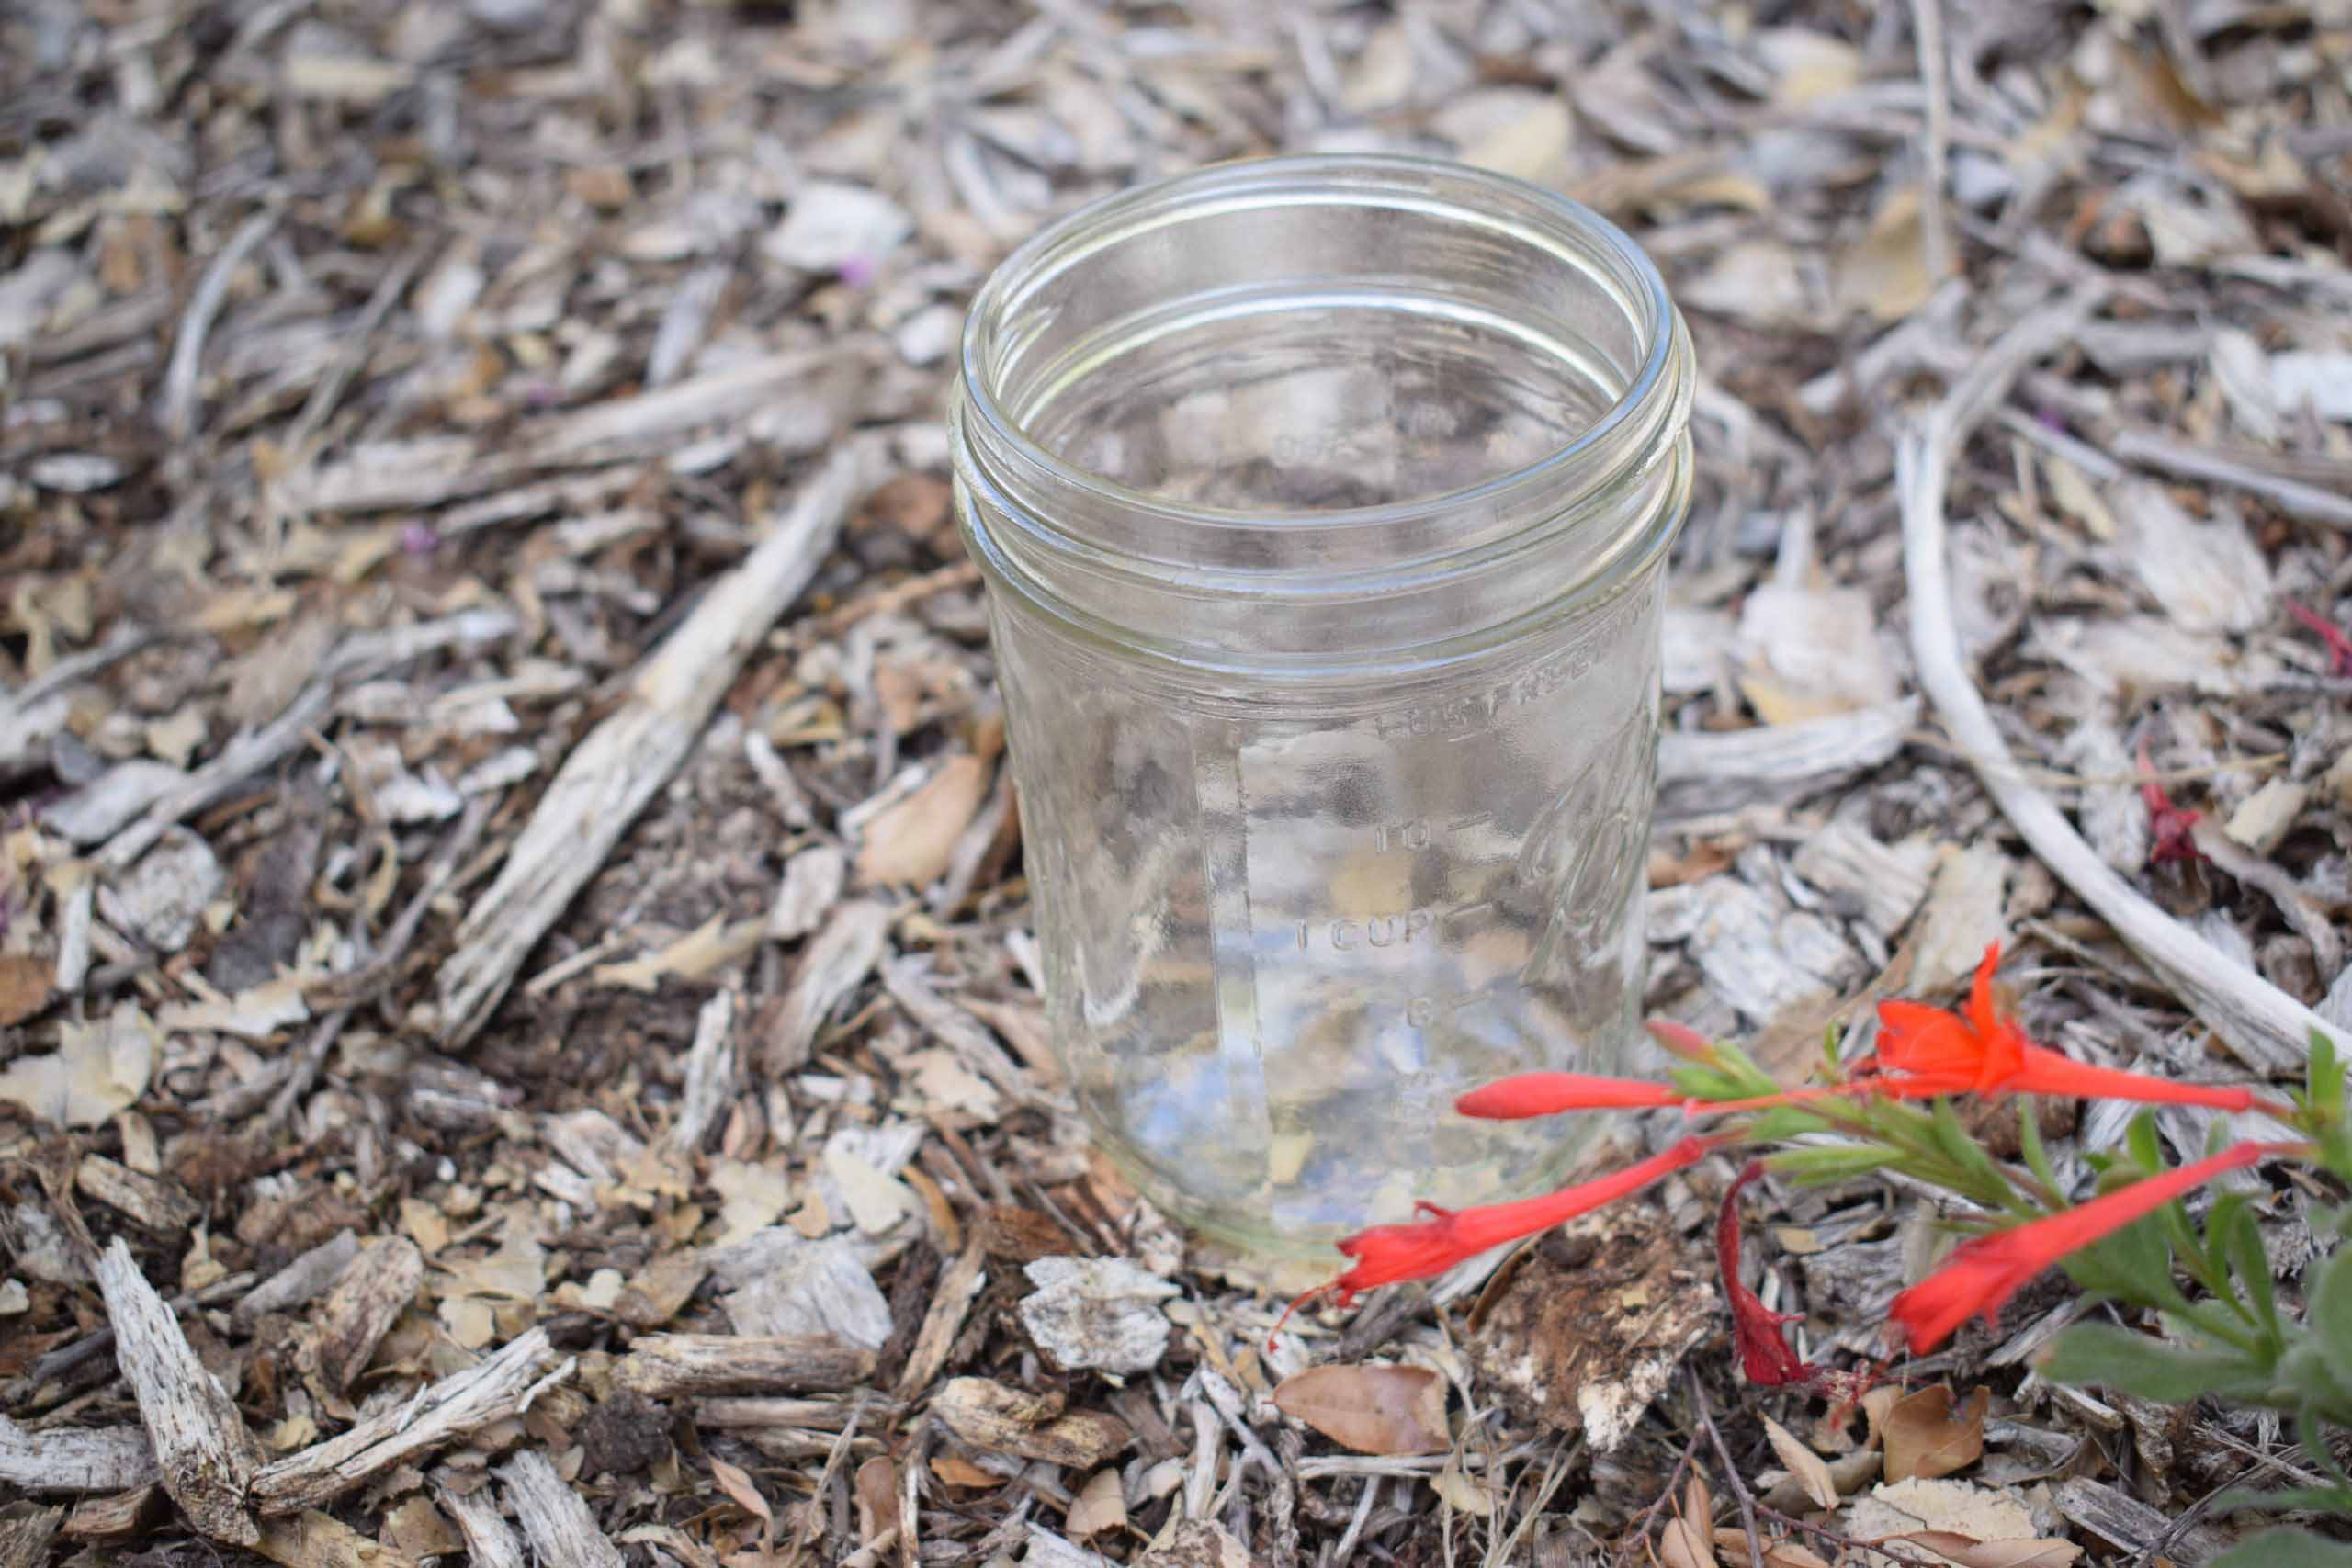
Containers used to capture and measure the water falling need a “full opening” and straight sides, making wide-mouth quart sized mason jars a good choice. They are clear and easy to measure water once partially filled.
What you'll need
Jars or cans
(as described above)
A ruler
Something to take notes on
A timer (or the stopwatch on your phone)
Step #1
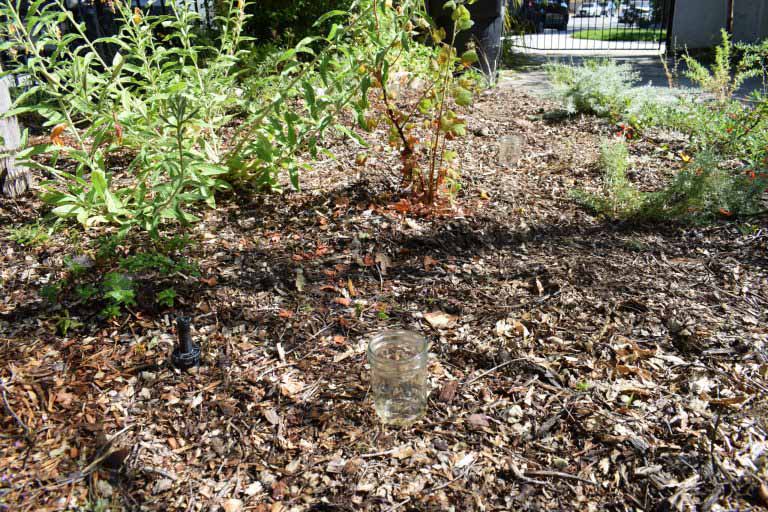
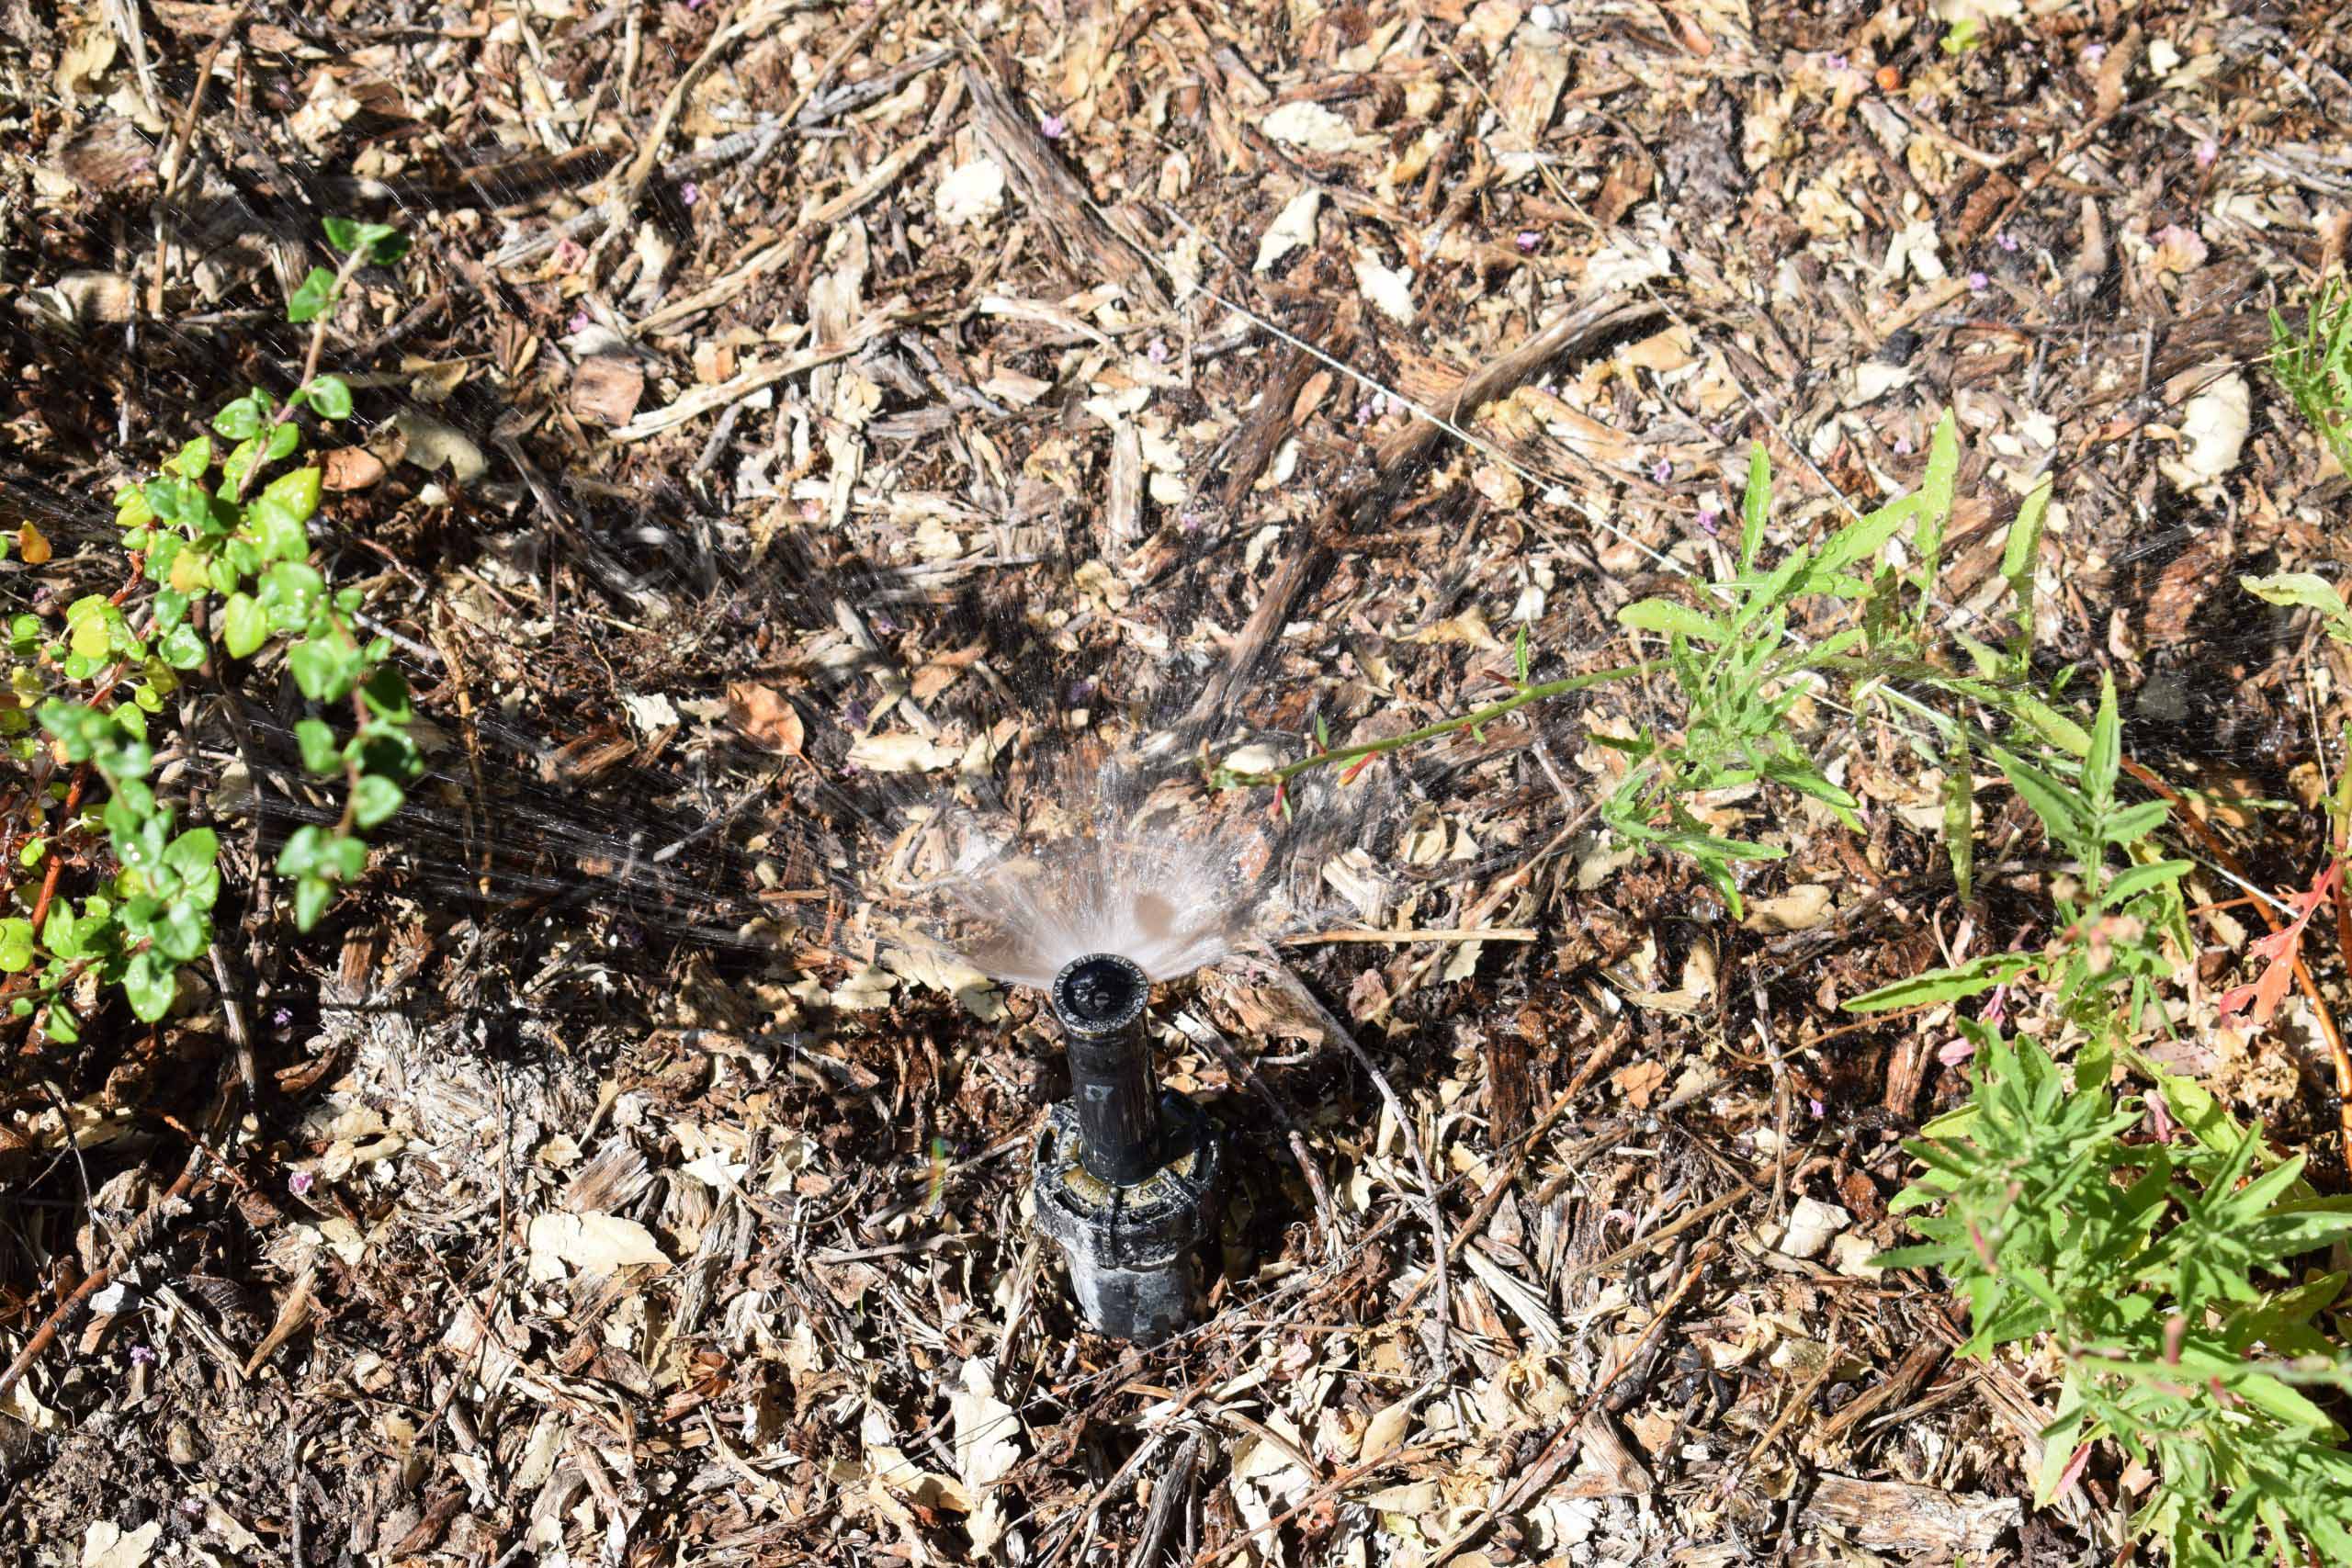
Put out your jars or cans evenly across the irrigation zone
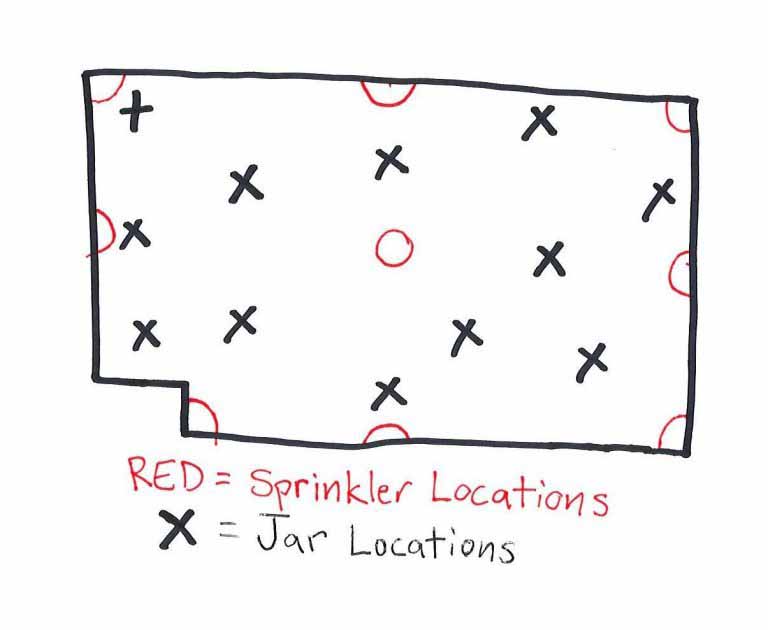
Place containers around the landscape zone that is irrigated by the one valve you are currently testing. The jars can be placed somewhat randomly, but make sure that they cover all the various areas of the zone, and that some are closer to the sprinklers, and some are farther from the sprinklers in more central areas. Large zones may benefit from additional jars. Note: This irrigation system previously watered a turf area. As this garden grows in, it will block the sprays, so they will need to be put on higher solid-pipe risers or converted to drip irrigation to ensure even water coverage.
This is a rough diagram of the main landscape area being tested and the layout of the jars showing some closer to sprinklers and landscape edges and some in more central areas.
Step #2
Run your irrigation system until there is roughly 1” of water in most of the jars and record how long you ran your system for
Manually run the irrigation zone for at least 10 minutes. In this example, after 10 minutes, the jars had little water in them so would have been hard to measure. We ran the zone for another 10 minutes (for a total of 20 minutes), accumulating enough water in the jars to be easy to measure. Some sprinklers apply water much more slowly and may need to be run up to 40 minutes. Make sure you write down the total number of minutes the system ran. That number will be very important later!
To have your irrigation system run for this test, use the manual run function on your irrigation controller (timer). If you need to look up how to use it, check your manual. If you don’t have your manual, most manufacturers have downloadable versions of their manuals online because people often loose them! Write down the make and model number of your controller and do an internet search of the make and model and the word manual.
Step #3
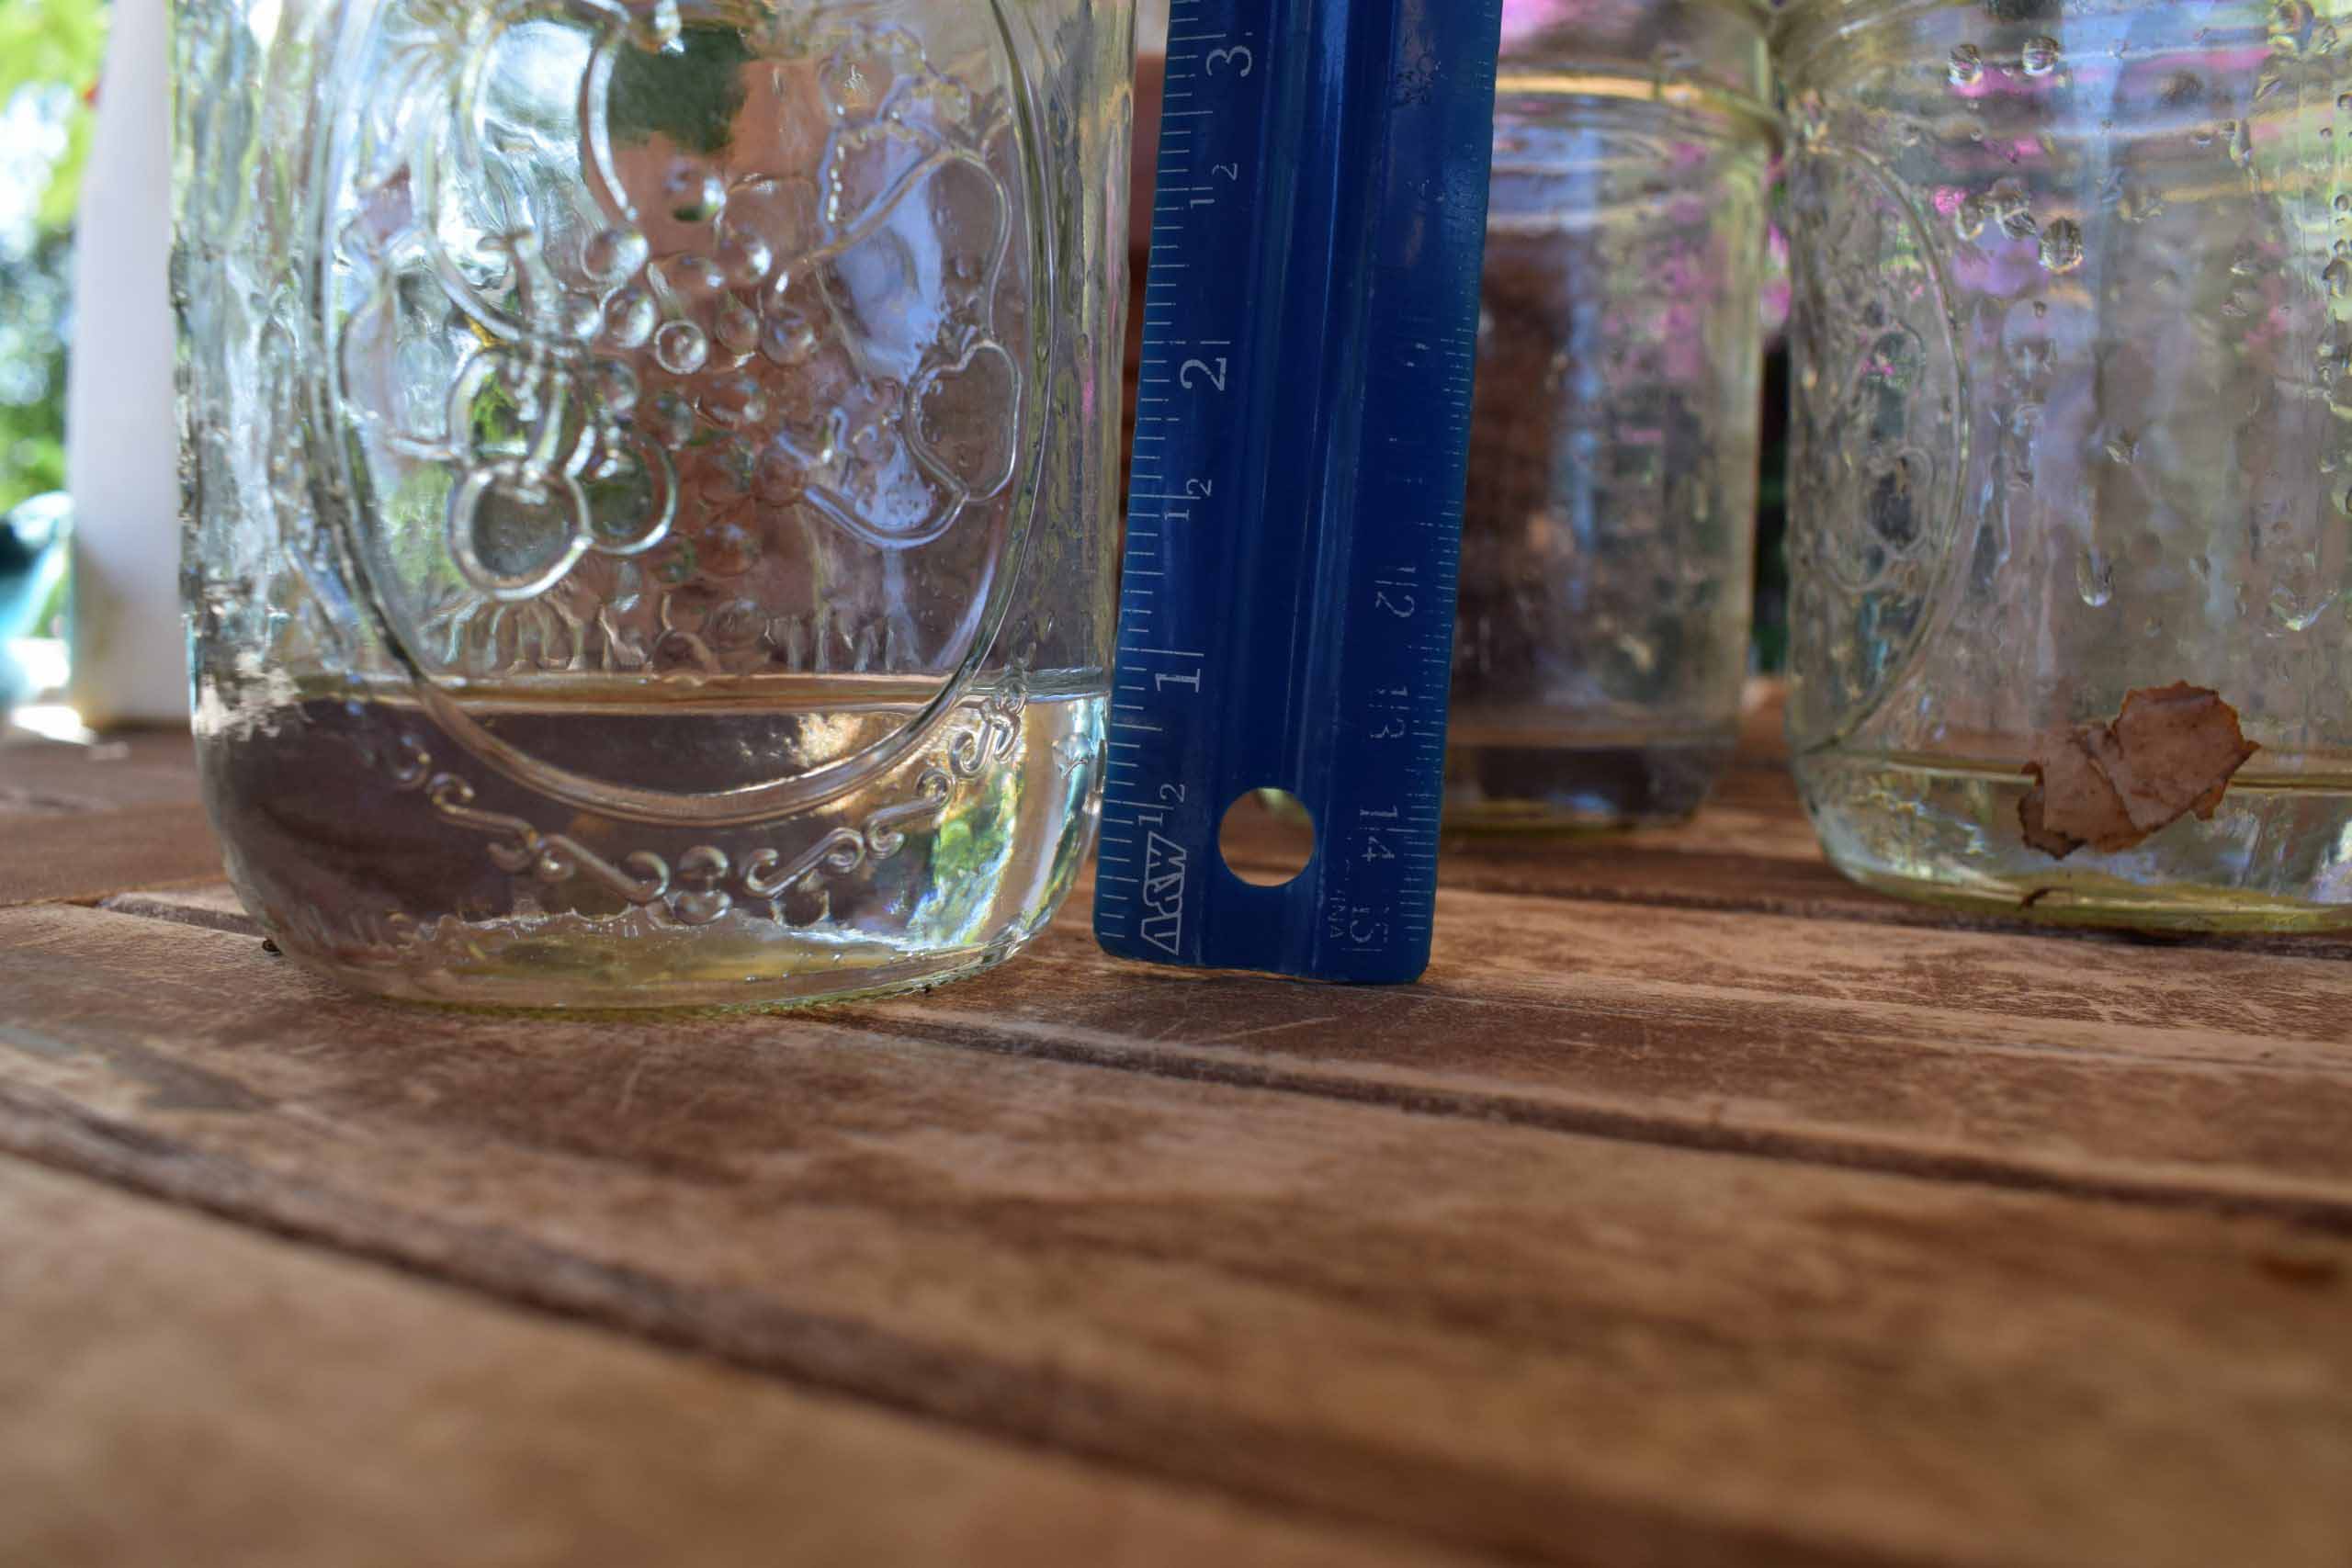
Using a ruler, measure the depth of water in each jar, and record it
When done, gather the containers and bring them somewhere easy to measure them. It is much easier to measure at a table than crouching down trying to read a ruler on the ground.
Measure and write down the depth of each jar. Round to the nearest 1/8 of an inch. Use the chart below to convert that into a decimal number that can be entered into the calculator. For example, 5/8” becomes 0.625.”
Converting eighth-inches to decimals
Use this table to convert your ruler measurements to decimals to input into the table below.
| Inches (in eights) | Inches (decimal) |
|---|---|
| 7/8 | 0.875 |
| 6/8 | 0.75 |
| 5/8 | 0.625 |
| 4/8 | 0.5 |
| 3/8 | 0.375 |
| 2/8 | 0.25 |
| 1/8 | 0.125 |
| Jar # | Inches (in eighths) | Inches (decimal) |
|---|---|---|
| 1 | 7/8 | 0.875 |
| 2 | 6/8 | 0.75 |
| 3 | 5/8 | 0.625 |
| 4 | 6/8 | 0.75 |
| 5 | 7/8 | 0.875 |
| 6 | 8/8 | 1.0 |
| 7 | 7/8 | 0.875 |
| 8 | 6/8 | 0.75 |
| 9 | 7/8 | 0.875 |
| 10 | 6/8 | 0.75 |
| 11 | 7/8 | 0.875 |
| 12 | 5/8 | 0.625 |
Step #4
Calculate irrigation run-time
Enter your information into the run-time calculator by jar test to get the run-time for this irrigation zone.
Loading...
Loading...